How to Install and Set Up Trezor Bridge for Seamless Crypto Management
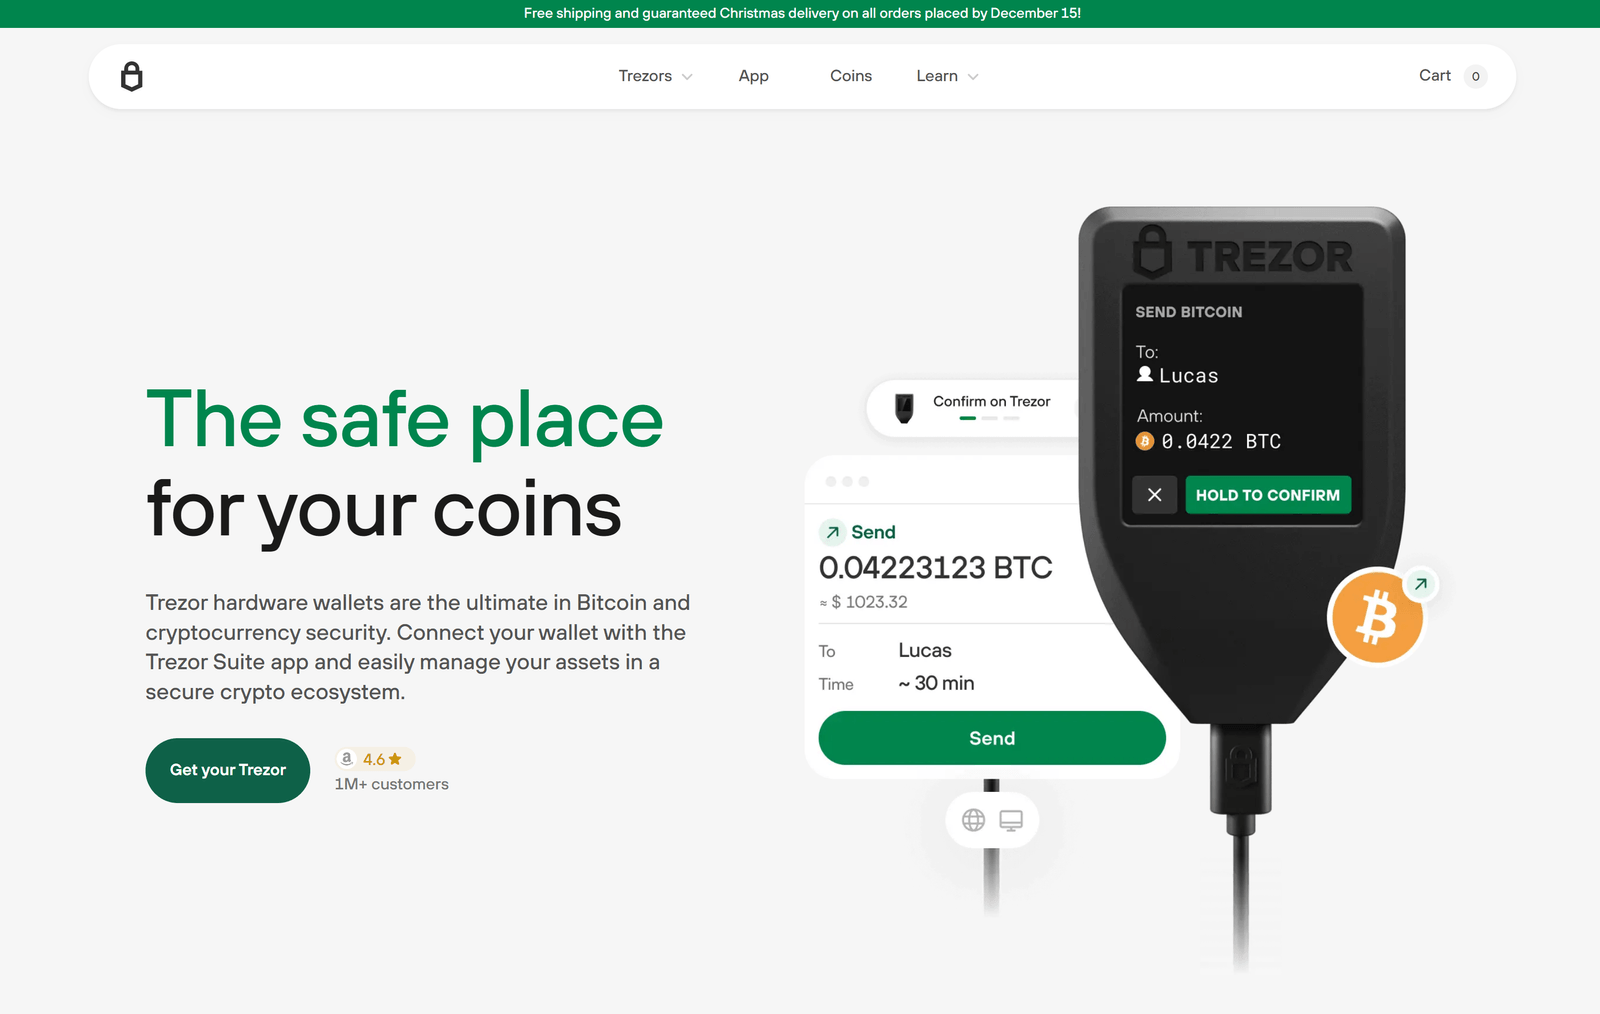
Managing cryptocurrencies securely requires the right tools, and Trezor Bridge is essential for connecting your Trezor hardware wallet to your computer. Designed as a bridge between the Trezor device and your web browser, Trezor Bridge ensures smooth communication and secure transactions.
Step 1: Download Trezor Bridge
Visit the official Trezor website at trezor.io/startto download the latest version compatible with your operating system (Windows, Mac, or Linux). Always download software from the official source to avoid malware risks.
Step 2: Install the Bridge
Run the installation file and follow on-screen instructions. On Windows, you might see a security warning; click “Yes” to allow installation. For Mac, drag the Trezor Bridge icon into the Applications folder.
Step 3: Connect Your Trezor Device
After installation, connect your Trezor hardware wallet using a USB cable. The Bridge automatically detects your device and establishes a secure connection. You might see a notification indicating successful detection.
Step 4: Access Trezor Suite
Open Trezor Suite via your web browser. Trezor Bridge acts as a communication channel, enabling the Suite to read device data, manage accounts, and sign transactions securely.
Step 5: Update Firmware
If prompted, update your device’s firmware through Trezor Suite. Keeping firmware updated is crucial for security and functionality.
Why Trezor Bridge Matters
Without Trezor Bridge, your browser cannot communicate with your Trezor device, limiting access to crypto management features. It ensures encrypted communication, preventing attackers from intercepting transaction data.
Trezor Bridge simplifies crypto management, making your hardware wallet more secure and easy to use. For detailed instructions, visit the official guide here