How to Get Started with Trezor.io/Start – Your Ultimate Guide 🔐
In the rapidly evolving world of cryptocurrency, security is paramount. Trezor, one of the most trusted hardware wallet brands, has made securing your digital assets easier with Trezor.io/start. Whether you’re a crypto newbie or an experienced trader, this step-by-step guide will walk you through the essentials of setting up your Trezor device and managing your cryptocurrency securely.
Why Trezor.io/start Is the First Step to Secure Crypto 🔑
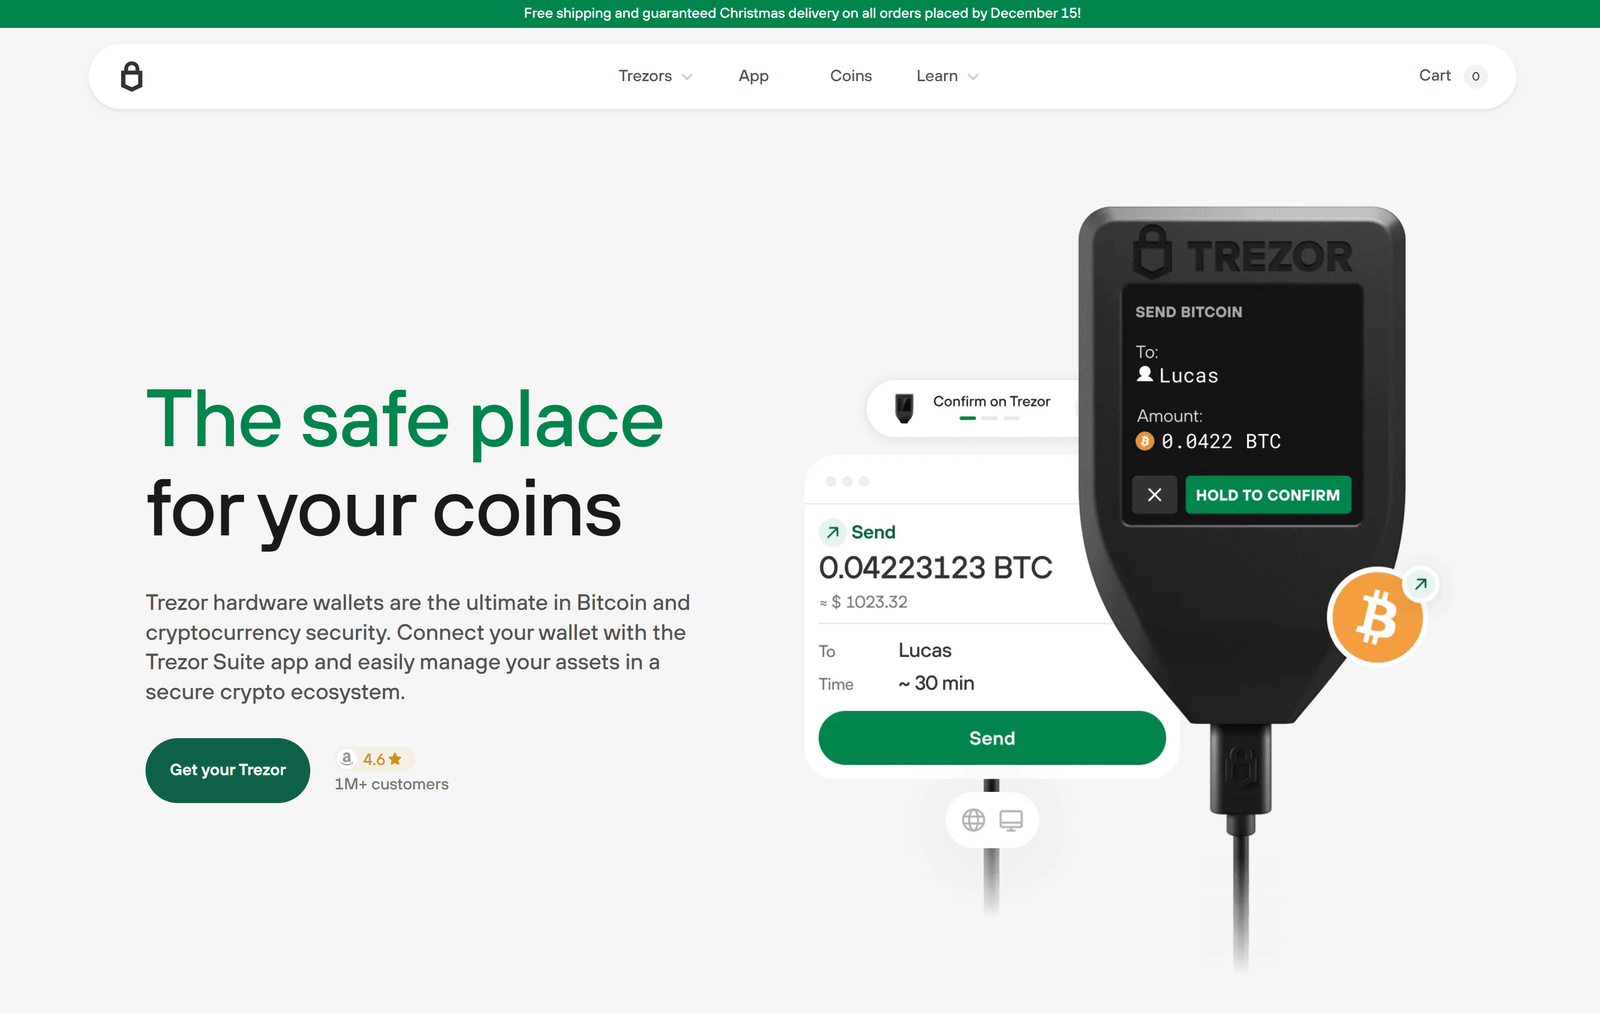
Trezor.io/start is the official entry point for initializing your Trezor hardware wallet. Unlike software wallets, which are vulnerable to malware and hacks, Trezor devices store your private keys offline. This ensures your funds remain safe, even if your computer is compromised. By visiting Trezor.io/start, users can begin the setup process, install the necessary Trezor Suite software, and activate their hardware wallet seamlessly.
Step 1: Choose the Right Trezor Device 🖐️
Trezor offers two main models: Trezor One and Trezor Model T. The Trezor One is a reliable entry-level wallet with essential security features, while the Model T adds a touchscreen interface and supports more cryptocurrencies. Both devices provide top-notch security, but your choice depends on your needs. After purchasing your device from a trusted source, you can proceed to Trezor.io/start for setup.
Step 2: Initializing Your Device 🔧
- Connect your Trezor wallet to your computer using the supplied USB cable.
- Visit Trezor.io/start
- in a secure browser.
Trezor Suite is compatible with Windows, macOS, and Linux. It provides a user-friendly interface for sending, receiving, and exchanging cryptocurrencies.
Step 3: Secure Your Recovery Seed 🌱
During setup, your Trezor device will generate a recovery seed, a series of 12 or 24 words. This seed is critical—if your device is lost or stolen, it allows you to recover your funds. Write the words down on the included recovery card and store them safely offline. Never store your seed digitally or share it online; this is the single most important step in securing your crypto assets.
Step 4: Set a Strong PIN Code 🔒
Next, Trezor will prompt you to create a PIN code. This adds an extra layer of security in case your device is lost or stolen. The PIN code should be unique, complex, and memorable only to you. With the PIN set, your Trezor wallet is now ready for cryptocurrency management.
Step 5: Add and Manage Cryptocurrencies 💰
Trezor Suite allows you to add multiple cryptocurrencies, including Bitcoin, Ethereum, and hundreds of altcoins. You can send, receive, and exchange assets directly through the app, all while keeping your private keys offline. Trezor Suite also provides real-time portfolio tracking and price alerts, making it easy to monitor your investments securely.
Step 6: Advanced Features and Tips 🚀
- Passphrase Protection: For added security, use a passphrase in combination with your recovery seed.
- Firmware Updates: Keep your Trezor device up to date to access the latest features and security patches.
- Backup Devices: Consider having a secondary Trezor device to avoid downtime in case your primary device is lost.
Conclusion: Your Crypto Security Starts at Trezor.io/start 🏆
Getting started with Trezor is simple, but the security measures you implement are critical. By visiting Trezor.io/start, choosing the right device, securing your recovery seed, and using Trezor Suite, you can confidently manage your cryptocurrencies. In an era of rising cyber threats, using Trez